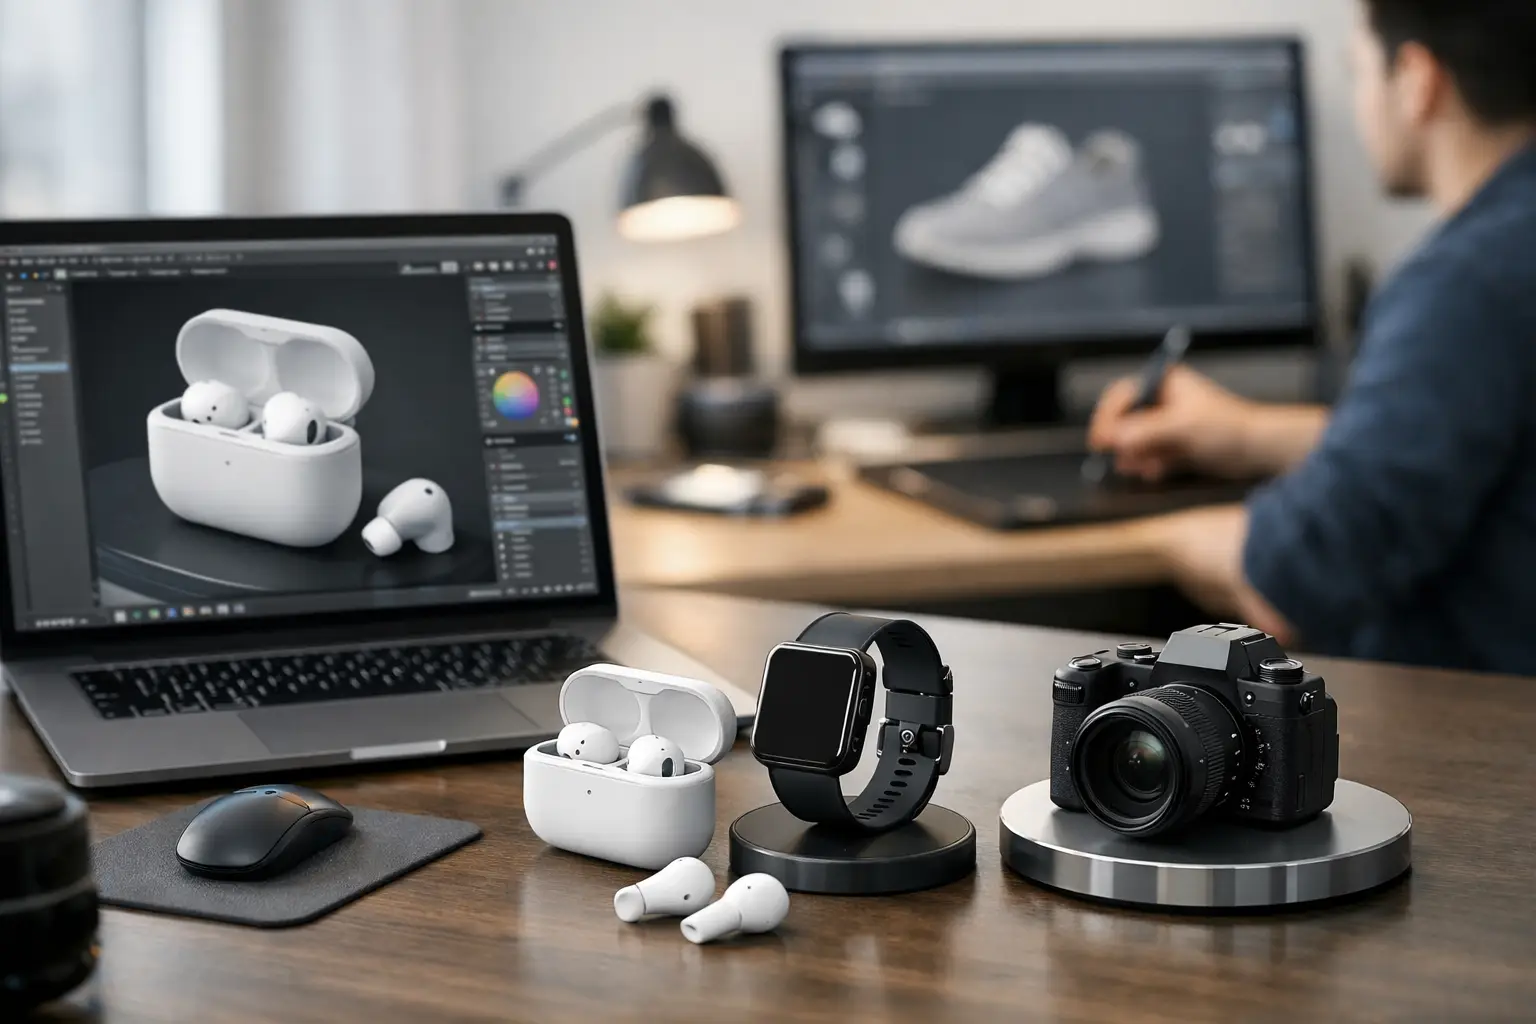
A flat product page is expensive. It hides detail, creates doubt, and forces customers to imagine what they should be able to inspect. That is why brands keep asking how to create 3D product models that do more than look impressive - they need assets that reduce friction, support AR, and move products closer to purchase.
The good news is that the workflow is no longer locked behind specialized hardware, long studio cycles, or a full 3D department. If your goal is commerce, content production, or a scalable digital catalog, the modern process is faster and more accessible than most teams expect. The real question is not whether you can create 3D product models. It is how to create them in a way that matches your product type, budget, and output requirements.
How to create 3D product models with the right workflow
There are three practical paths to 3D product creation. You can scan a real object, model it from scratch, or combine both methods. The best option depends on what you are selling and where the asset will be used.
If the product already exists physically and accuracy matters, scanning is usually the fastest route. This is especially true for retail items, footwear, furniture, packaging, collectible goods, medical objects, and industrial parts. A smartphone-based scanning workflow can now generate production-ready geometry far faster than a traditional manual build for many use cases.
If the product does not exist yet, or if it has highly controlled dimensions from CAD, manual 3D modeling may be the better choice. That is common in product design, manufacturing, and pre-launch visualization. You get cleaner topology and tighter control, but you also take on more labor.
Hybrid workflows are becoming the commercial standard. Teams scan the real object to capture form and surface information, then refine the mesh, rebuild certain elements, and optimize the final asset for ecommerce, AR, or configurators. That approach balances speed with control.
Start with the output, not the software
One of the most common mistakes in 3D production is choosing tools before defining the business outcome. A model built for a high-end animation render is not the same as a model built for mobile AR commerce. The geometry budget, texture resolution, file format, and level of detail all change based on the destination.
If your model is headed to a product page, you need fast loading, clean presentation, and reliable rotation across devices. If it is meant for AR, scale and performance become more important. If the asset will support engineering review or medical planning, dimensional integrity carries more weight than visual polish.
This is where strategy beats enthusiasm. Before capture begins, decide what success looks like. Ask whether the model needs photoreal texture, exact measurements, or lightweight delivery. Those requirements should shape the workflow from the first pass.
Capture quality determines everything downstream
When teams ask how to create 3D product models efficiently, the answer usually starts with capture discipline. Cleanup can improve a lot, but it cannot fully rescue weak source data.
For scanning, lighting matters more than most beginners expect. Diffuse, even lighting helps the system read surfaces without harsh shadows or blown highlights. Reflective, transparent, or very dark products are harder to scan because they confuse depth and visual tracking. In those cases, you may need surface treatment, controlled environments, or a hybrid rebuild after scanning.
Backgrounds matter too. A cluttered scene creates noise and makes isolation harder. A stable setup with enough visual contrast helps the capture process hold tracking and reconstruct the product more cleanly.
Movement is another big factor. Keep a consistent distance, move steadily around the object, and make sure you cover all angles. Missing the underside, recesses, or thin edges can lead to holes and deformations that take time to repair later. Speed is useful, but coverage is what protects quality.
For many teams, smartphone capture is now the fastest on-ramp because it removes hardware friction. Platforms such as MagiScan have pushed this shift by turning mobile devices into practical 3D capture tools instead of novelty demos. That matters when you need repeatable asset creation, not just experimentation.
Clean the model for commercial use
Raw scans are rarely final assets. They are source material. To make them usable, you need a cleanup stage that turns captured geometry into something reliable and efficient.
That usually means removing stray geometry, closing holes, smoothing obvious artifacts, and correcting scale or alignment. If the object includes fine details, branding, or structured edges, you may also need selective retopology or mesh rebuilding. This is the point where a model stops being a scan and starts becoming a product asset.
Texture work deserves equal attention. Good textures preserve surface credibility, but they also need to be optimized. Huge texture maps may look great in isolation and perform badly in the real world. For ecommerce and AR, there is always a trade-off between fidelity and speed.
A commercially useful model is not the heaviest one. It is the one that loads fast, reads clearly, and still represents the product honestly.
How to create 3D product models for ecommerce and AR
Ecommerce teams should think in terms of conversion, not just visualization. A 3D model that spins nicely but fails to communicate size, finish, or functional detail is not doing enough.
The strongest commerce models make product evaluation easier. They let users inspect form, material, scale cues, and important differentiators without guesswork. In AR, the model should also sit convincingly in the customer’s environment. That requires correct scale, stable orientation, and sensible file optimization for mobile devices.
For product catalogs, consistency is a major advantage. If every model is captured with different lighting, scale logic, and polygon density, the catalog feels fragmented. Standardized workflows create a more credible buying experience and reduce downstream production chaos.
This is where 3D becomes infrastructure rather than content. Once your capture, cleanup, and publishing steps are repeatable, you can scale across SKUs instead of treating each model like a one-off studio project.
Know when manual modeling still wins
Scanning is powerful, but it is not the answer to every product. Hard-surface objects with glossy finishes, transparent packaging, or intricate internal geometry can still require manual intervention. The same goes for products that do not physically exist yet.
Manual modeling also wins when absolute geometric control is the priority. If you are building from technical drawings, CAD references, or parametric specifications, a scratch-built model may be cleaner and easier to maintain over time.
The smart move is not defending one method over another. It is choosing the pipeline that protects time, quality, and output goals. In a commercial setting, dogma wastes budget.
Common mistakes that slow teams down
Most production issues come from avoidable decisions early in the process. Teams often capture without planning the final use case, which leads to oversized files or missing details. They overbuild models for lightweight environments, or they compress them too aggressively and lose the product cues that matter to buyers.
Another common problem is treating 3D as a design experiment instead of an operational system. If one person can produce a beautiful model but the workflow cannot scale across 100 or 1,000 products, the business impact stays limited.
There is also a tendency to chase perfect realism when what the market actually needs is trustworthy representation. Those are not always the same thing. A clean, efficient model that supports sales and visualization is often more valuable than a technically impressive asset that is too heavy to deploy.
Build a pipeline, not just a model
If you are serious about learning how to create 3D product models, think beyond the first successful file. The real advantage comes from building a repeatable system for capture, refinement, optimization, and deployment.
That means documenting lighting setups, scan paths, naming conventions, export settings, and quality standards. It means deciding which products can be scanned directly, which need hybrid treatment, and which belong in a manual modeling workflow. It also means treating 3D assets as part of your revenue infrastructure, not an isolated creative task.
The companies gaining ground in AR commerce, digital merchandising, medical visualization, and spatial computing are not simply making models. They are building a faster path from physical object to usable digital asset.
That shift is bigger than content production. Once reality can be captured, edited, and deployed at scale, the product model stops being a static deliverable and starts becoming a business advantage.